
The all-in-one front-office solution for SMBs that thrive on loyal customer relationships.
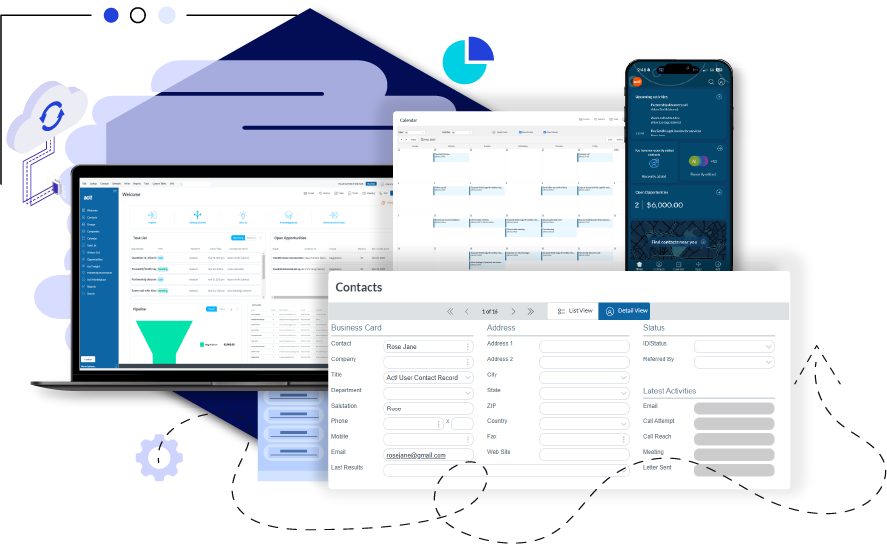
Customer Relationship Management
Calendar & Activity Management
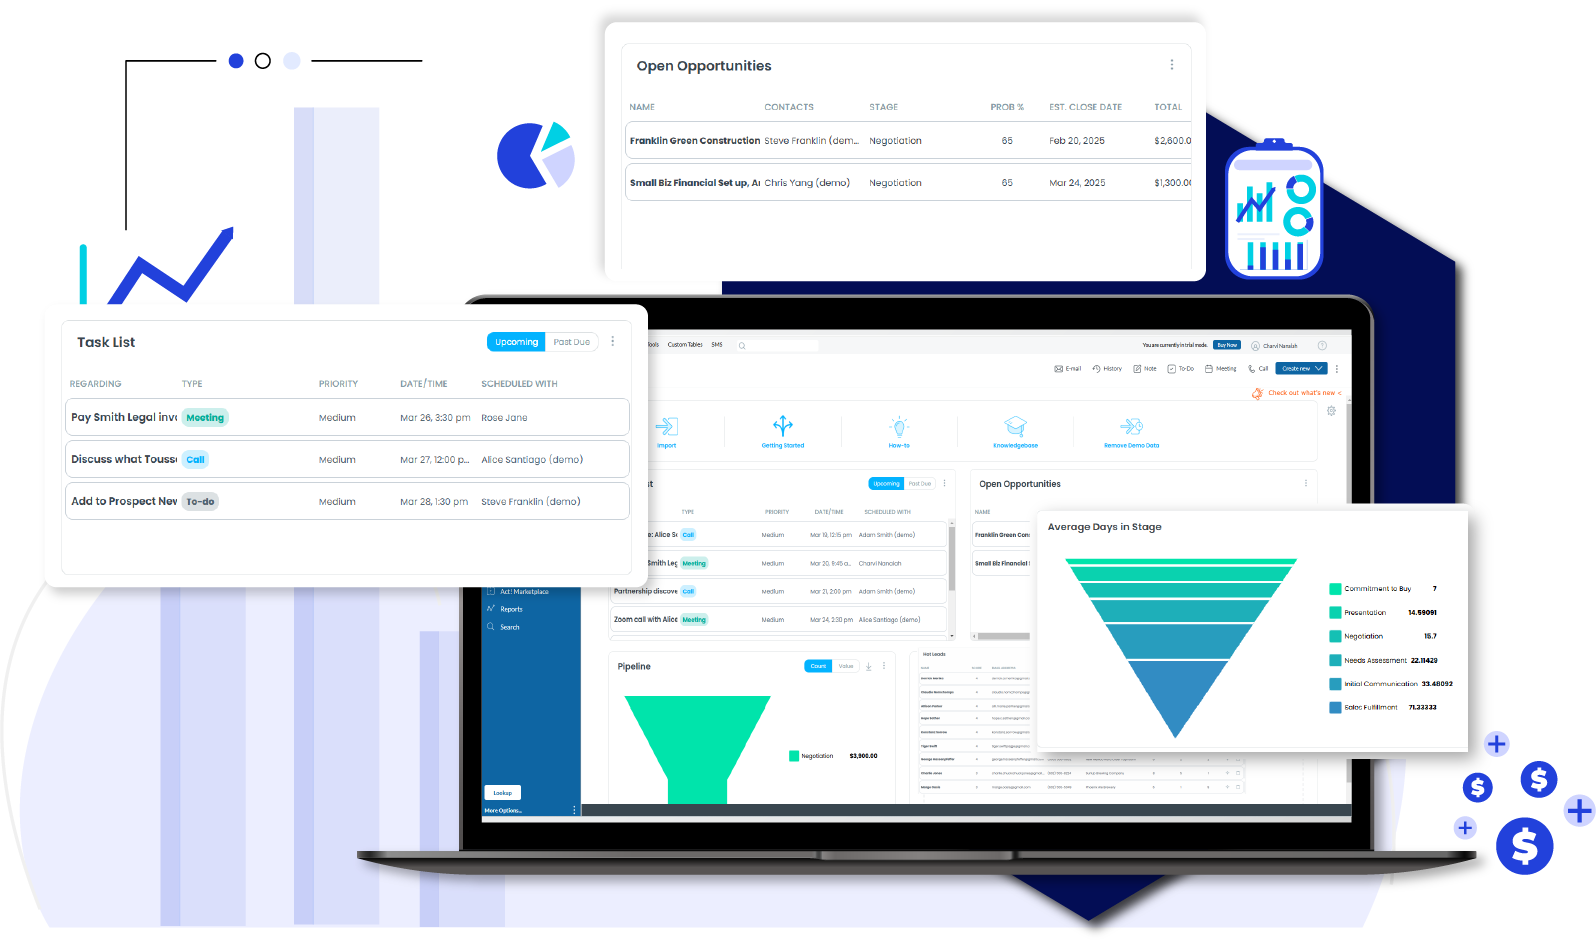
Sales Pipeline Management

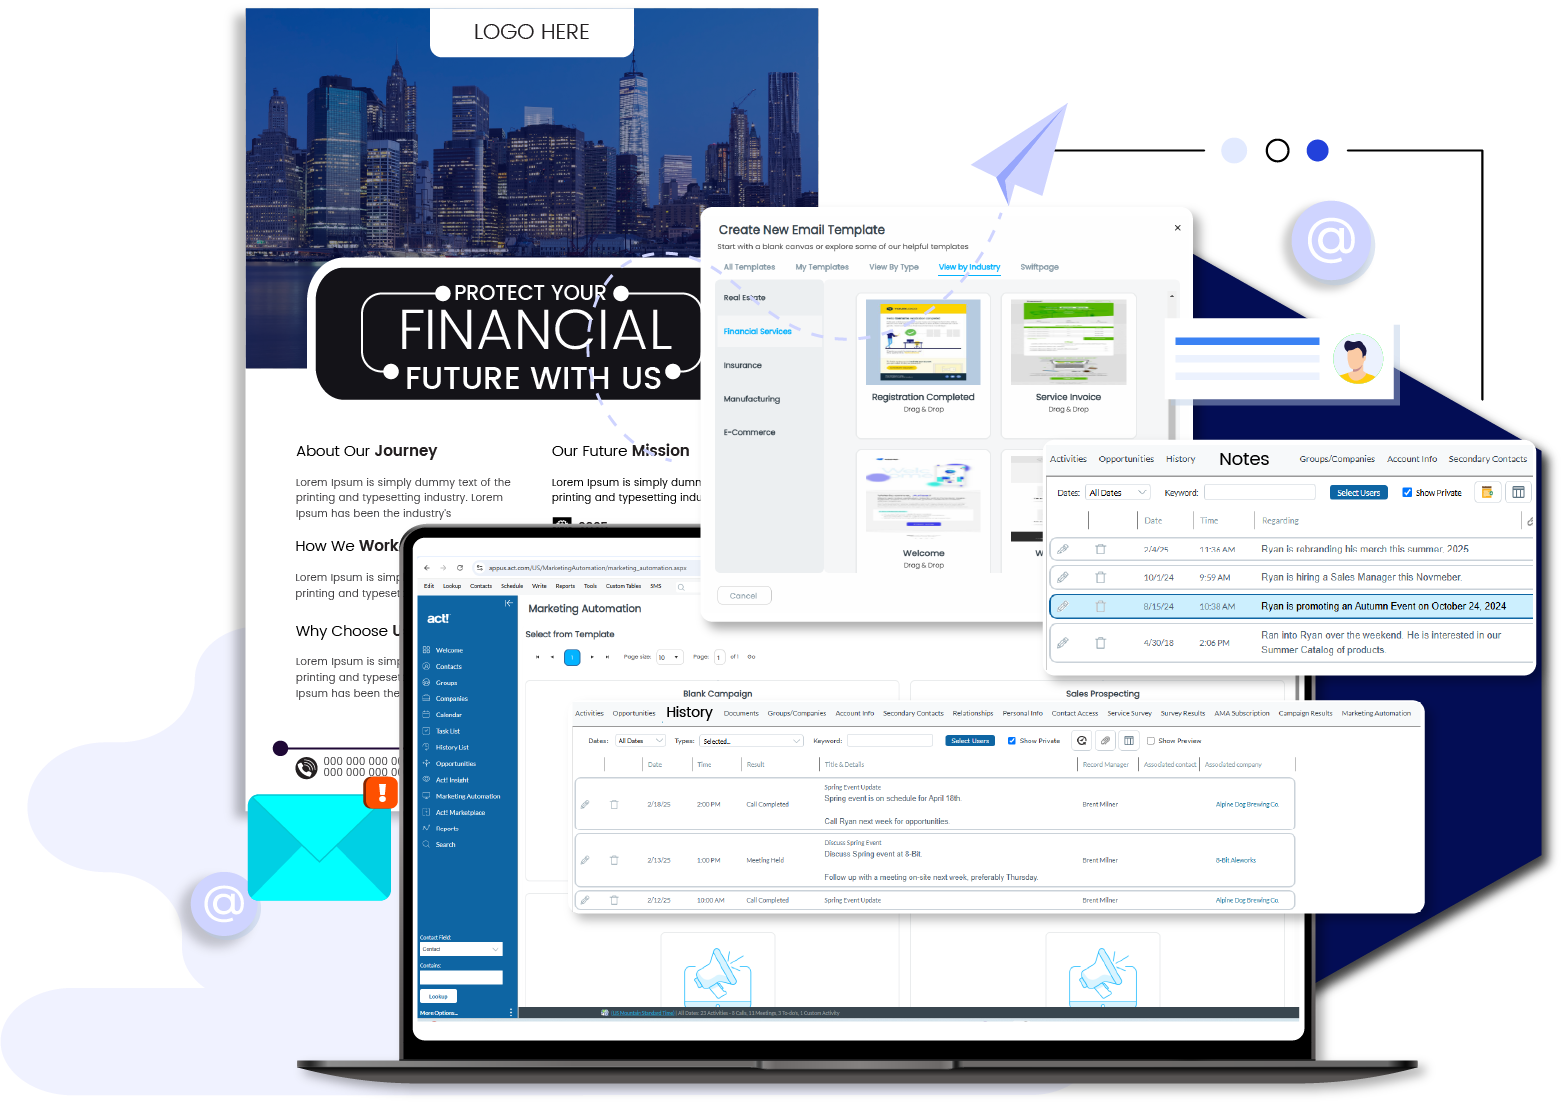
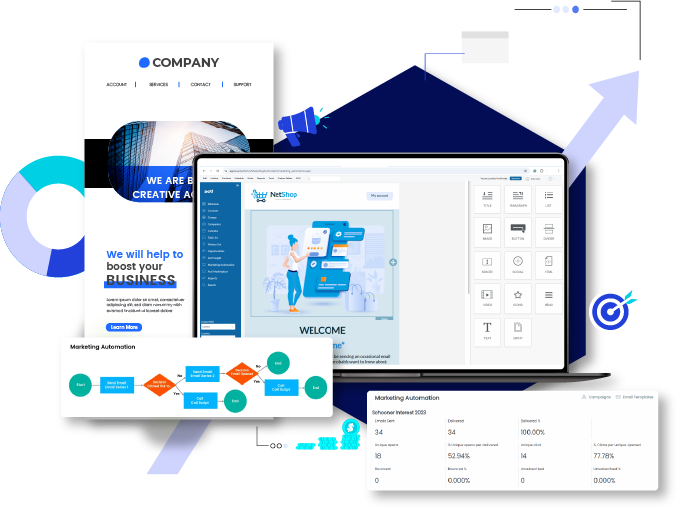
Email Marketing & Customer Communications
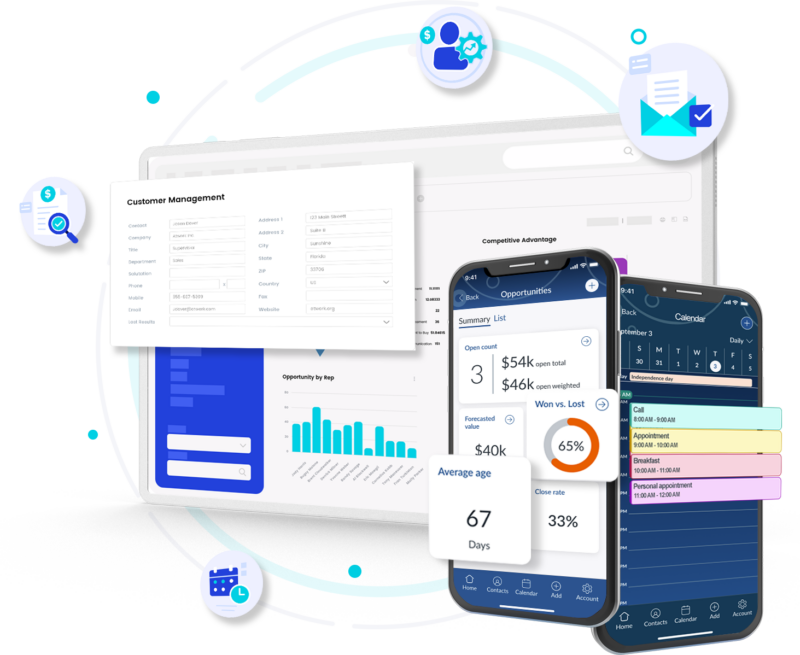
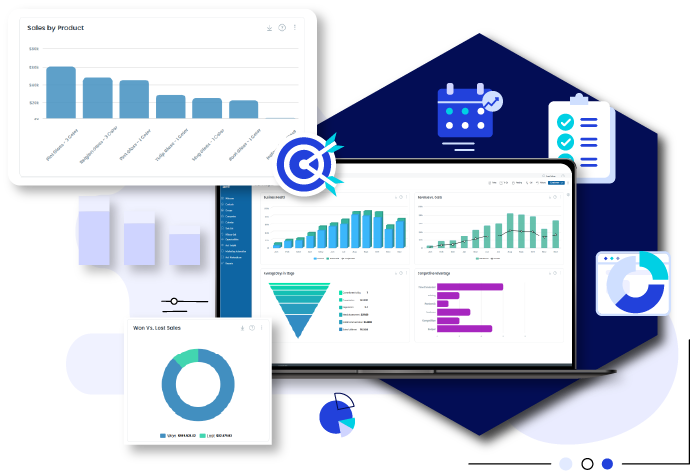
Analytics & Business Insights
Announcing Act! Advantage
Put Act! at the center of your daily customer relationship activities. Unite your customer data, sales and marketing processes, website, accounting system, business apps, and more for maximum productivity.
Get & Stay Organized
Centralize and secure your vital customer data in an organized and user-friendly interface. Configure to unique specifications, and access key customer information with ease in the office or on the road.
Turn Relationships Into Results
Leverage rich customer profiles to gain a deeper understanding of your relationships and deliver outstanding customer experiences that foster customer loyalty and drive repeat business.
Attract New Prospects
Attract high-potential leads with integrated email marketing. Create professional-looking emails, landing pages, surveys, and newsletters that get the right message to the right audience at the perfect time.
Hit Sales Goals
Keep opportunities advancing and hit your sales goals with interactive quotes and robust opportunity management. Forecast with confidence via a visual sales pipeline and interactive dashboards.
Focus on What Matters
Know exactly where to focus your time and resources with dynamic, real-time metrics and customer-specific insights, enabling informed decision-making across your business.


We're with you every step of the way.
At Act!, your success is our priority, and we’re here to help make it happen. Unlike other CRMs that leave you to figure things out on your own, we provide personalized assistance from day one. You'll have a dedicated Account Manager (a real human, not a chatbot!) and free onboarding with your subscription by a team of experts ready to get you up and running fast.
Check Out What’s New at Act!
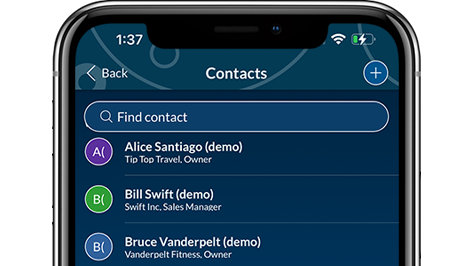
Act! Mobile
Custom Industry Tables
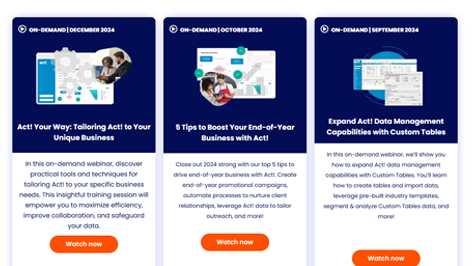
Live & On-Demand Webinars
Why choose Act!
The total relationship package.
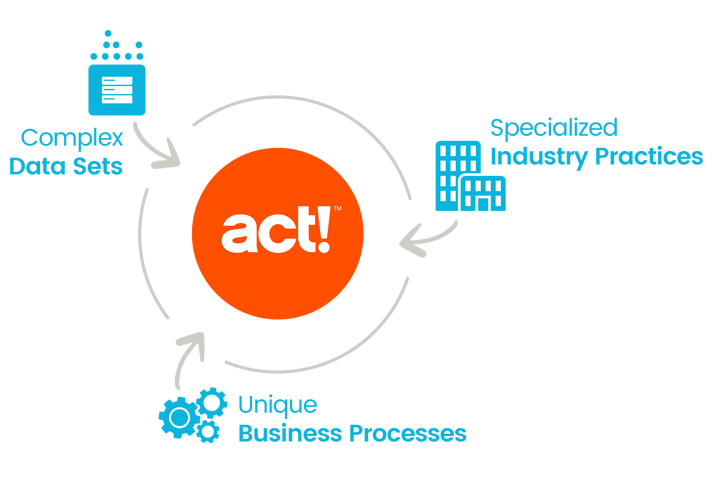
Unparalleled SMB know-how.
A partner you can rely on.

What Act! customers are saying


Act! keeps you connected.


Customers love our award-winning software!


See what our other customers are saying about Act!


Ready to win customers for life?